Cool in the Pool: Area
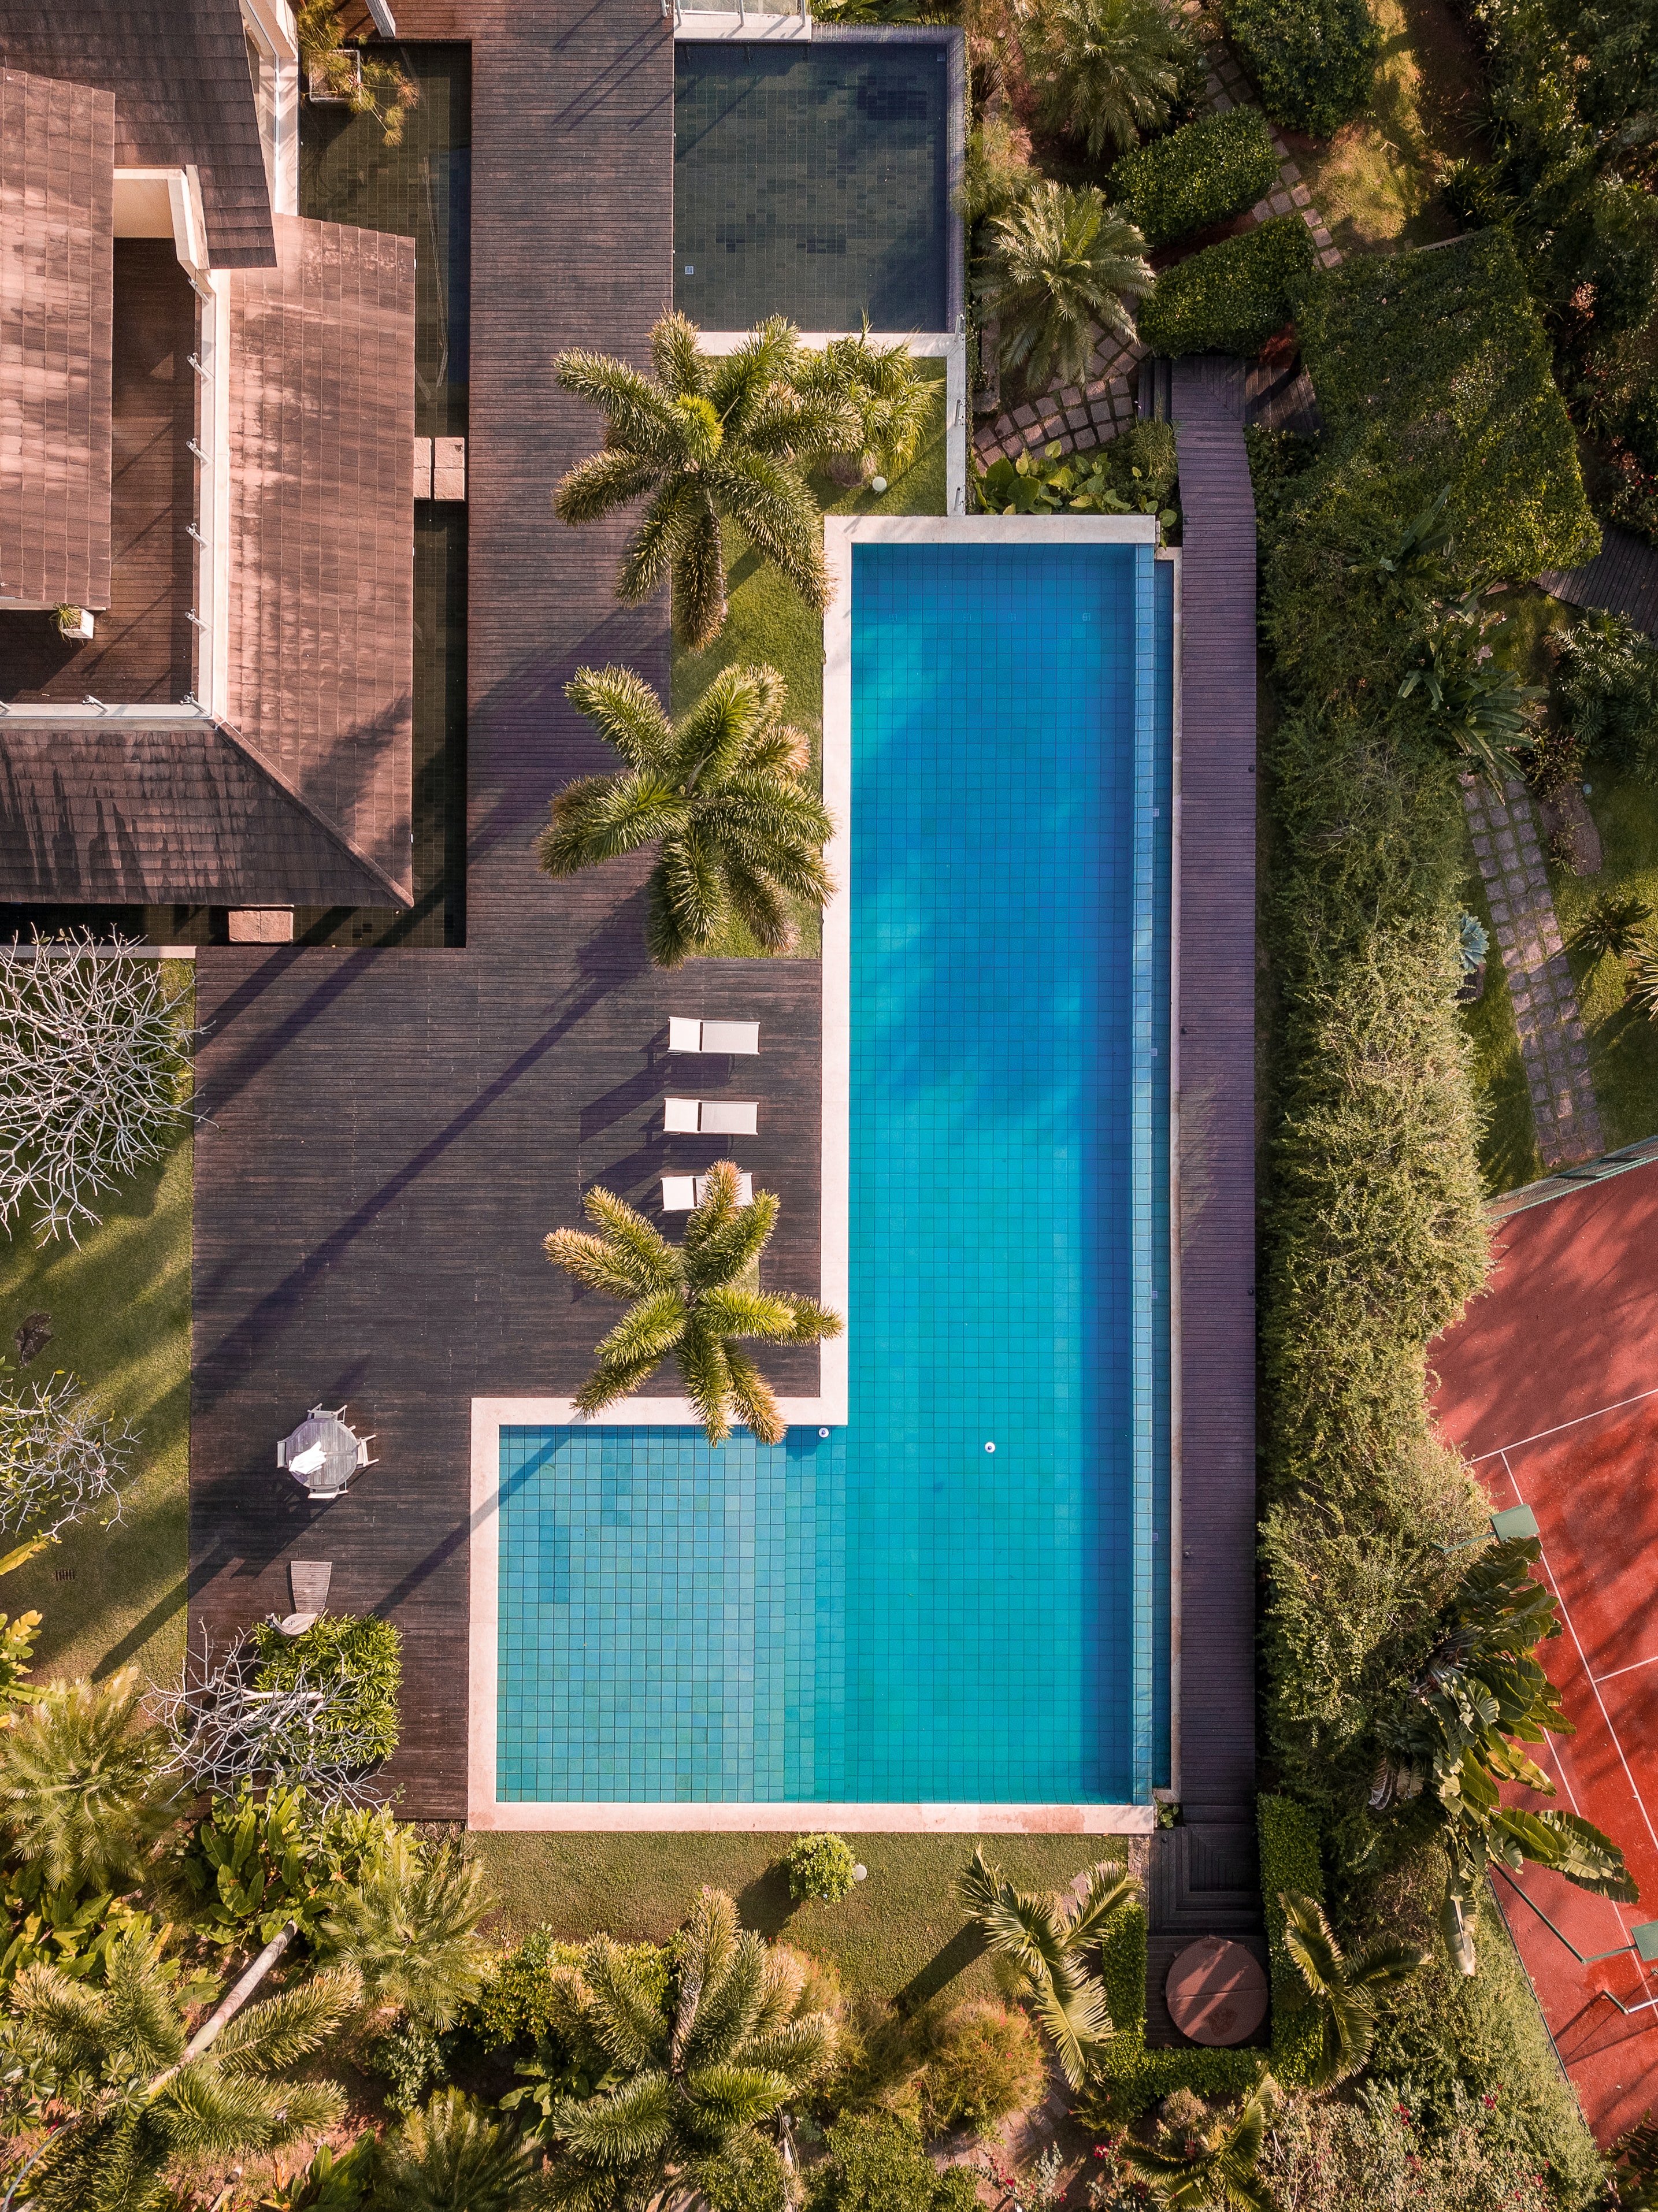
Students will use their knowledge of area to create blueprints for pools. Students will be pool designers who will use shapes to create irregularly shaped pools. They will also be pool building managers who will find the total area of each pool blueprint.
Essential Question
How can area be used in a real-world situation?
Grade(s):
- 4
- 5
- 6
Subject(s):
Recommended Technology:
chromebooks
Other Instructional Materials or Notes:
*note that changes in rigor can be made based on grade level. For example, volume may be integrated with 5th and 6th grade students.
Lesson Progression
Day 1:
- Students will watch the video and take notes about finding the area of irregular shapes.
- Students will complete the practice sheet for finding the area of irregular shapes.
Day 2:
- Students will begin building the “pool builders” activity. Students will begin building different pools using regular shapes. They will combine these shapes to create a unique pool design.
- You may choose to do this using cut out shapes or using the virtual template located in the resources tab.
- Students should try and complete at least 2-3 blueprints.
Day 3:
- Students will continue working on their pool designs if necessary.
- Students will add measurements to their shapes. These measurements should match the drawings even if they are not to scale. For example, if the sides of the rectangle are 4 ft and 6 ft, the longer side should be labeled 6 feet.
Day 4:
- Students will become the pool building managers.
- They will look at the measurements given by the pool designers and find the total area of the pool for each design.
- They will record the measurements for each pool.
Day 5:
- Students will pick the pool with the largest area of the blueprints they checked.
- They will create an ad that shows the design and explains why the area of the pool is important. They will also explain how they found the area since the pool is an irregular shape. Students can create posters, google slides, or pamphlets to show why the pool should be used in backyards everywhere. (Remember this is not the pool they originally designed)
Day 6:
- Students will continue to work on presentation.
Teacher Notes
Differentiation: Give students different areas and have them match the area to the correct pool figure.
Extension: Give students a surface area and have them "construct" a pool to meet the dimensions given. Have students calculate the volume of a pool. Have students explain the real world differences in mathematical measurement for a pool cover versus pool water.
How to find the area of irregular shapes video
View ResourcePool Pals Building Service
Interactive way for students to build their pool blueprints.
View ResourceStandards
Assessments
Check the blueprints, and use the rubric to grade the presentation. You may also check their practice sheet from day 1 to check for understanding.