Lifecycle of a Pumpkin
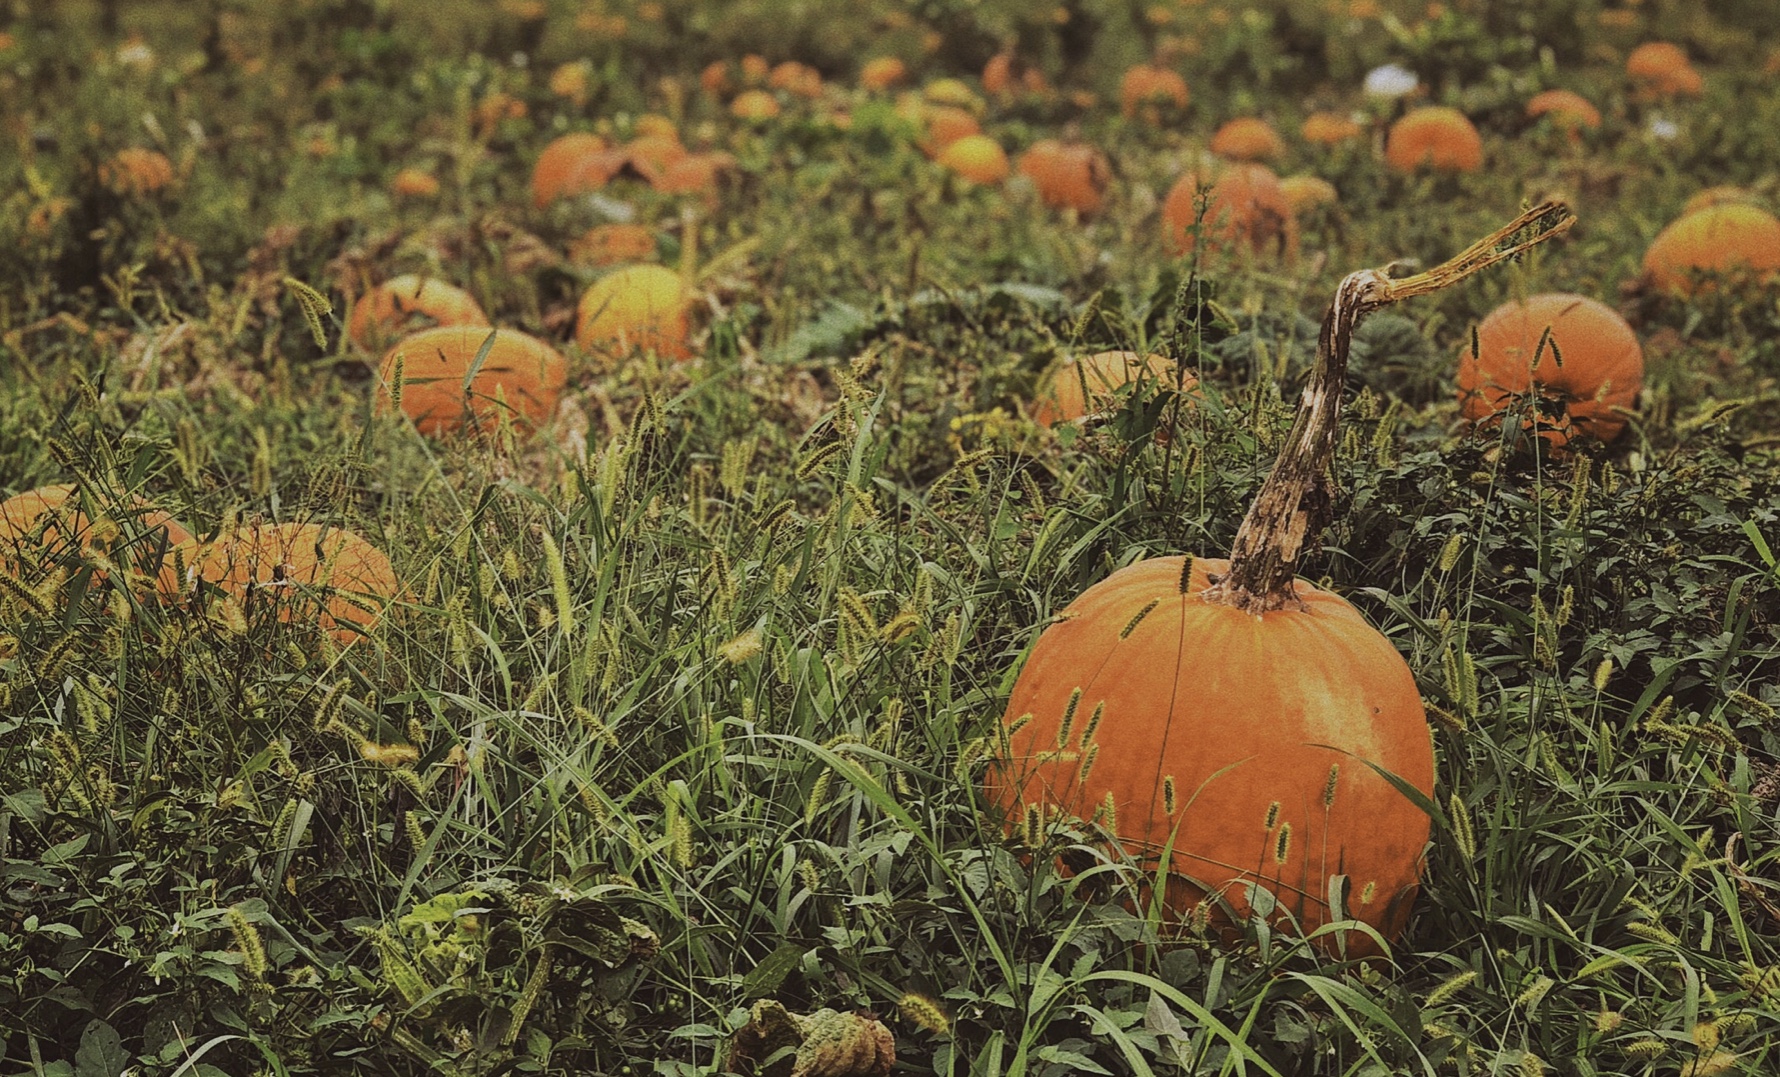
For this project-based lesson, students will learn the parts of a pumpkin, create their own measurement tools and measure the height of pumpkins, and plant their own pumpkin seeds to learn the life cycle of a plant (pumpkin plant).
Lesson Created By: LauraWhitener
Essential Question
1. How can we create our own rulers to measure pumpkins?
2. What do plants need to grow?
Grade(s):
- 1
Subject(s):
Recommended Technology:
Smart board, iPads
Other Instructional Materials or Notes:
1. See-Saw app for iPad
2. pumpkins
3. Outdoor area/garden for growing pumpkin seeds
4. Paper
5. Pencil
6. Rulers or tape measures
7. Tape
8. Cardboard
9. Markers
Lesson Progression
Week 1 (Best if completed in late September or October)
Day 1- 30 minutes (Content area: Mathematics - Measurement)
1. (Introduction): the Whole group-The teacher will introduce the lesson by stating the objective. “Today our I can statement is, I can measure the height of a pumpkin, take data, and record my data.”
2. (Engage): Whole Group- Teacher will have students count how many rulers it takes to measure the height of their teacher. Teacher & class will record results on the smart board.
3. Essential question: If we only had one ruler for the entire class, but we had to all measure our pumpkins in a short period of time, how could we get more rulers?
4. Split students into groups & give them materials (paper, pencils, markers, cardboard, tape.)
5. Let them problem solve as a group to create a ruler.
Day 2- 45 minutes (Content area: Mathematics- Measurement and data)
1. Redistribute materials
2. Give each group a pumpkin to measure (different sizes)
3. Have students measure their pumpkins and record their data. Have them submit their data to the see-saw app on iPads.
Day 3- 15 minutes (Content area: Mathematics- Measurement and Data)
1. (Summarize lesson): Show data submitted by groups on the smart board.
2. Make comparisons & ask questions. Some questions should be more difficult than others to ensure you have differentiated instruction for on level and advanced students.
Ex: Why do you think group 1’s pumpkin data was different than group 2’s pumpkin data?
How did you make your measurement tools?
Were the tools easier or harder to use?
Do you think the tools were accurate?
Day 4- 45 minutes (Content area: Science - Parts of a pumpkin (plant)
1. (Introduction): Whole Group- Teacher will introduce parts of a pumpkin to class by saying, “Today our I can statement is, I can identify the different parts of a pumpkin.”
2. (Engage): Whole Group- Teacher will read, Pumpkins written by Erika L. Shores
3. Then, the teacher will have students gather for a whole group lesson in a spot prepared for a messy lesson. (Ex: newspapers on carpet, newspapers on a large desk.)
4. (Explore) Whole Group- Teacher will dissect a pumpkin and allow students to have a chance to feel the different parts (seeds, stem, skin, pulp) while students are making hands-on observations, the teacher and other students can post videos and pictures to the see-saw app on their iPads. These videos should be the students and teacher explaining the different parts of the pumpkin, what they predict their function will be, and whatever other observations they make.
5. Have students collect, clean and store 3 seeds each in a ziplock bag. Teacher should freeze the seeds.
6. (Closing) Whole Group- Assessment- Parts of a pumpkin labeling activity (attached)
-The teacher should randomly select students to label the parts of a pumpkin.
-The teacher will re-state the I can statement.
Week 2: Needs to be completed in the spring.
Day 1 - 30 minutes (Content area- science: the lifecycle of a plant)
1. (Introduction) “Our I can statement for the day is, I know the different parts of a plant lifecycle.”
2. The teacher will bring seeds that were put into the freezer at the beginning of the year. The teacher and students will go outside to an outdoor area or garden to plant seeds.
3. The students and teacher will return to the classroom to have a group discussion about the things plants need to grow.
4. The teacher will go over the lifecycle of a plant.
Remaining days:
Each day, teacher and students will take 5-10 minutes to observe plant growth and to record data on see-saw. If the plant has reached a new phase in their lifecycle, students will take a video and talk about the new stage, the previous stages, and the future stages and post the videos to see-saw.
The teacher can use pumpkins that were grown by students for upcoming students and repeat for years to come.
Standards
- Life Science: Plants and Their Environments
- 1.L.5 The student will demonstrate an understanding of how the structures of plants help them survive and grow in their environments.
- 1.MDA Measurement and Data Analysis
Assessments
Data posted on see-saw app.